
Use one shared schedule to record any closure or shortened day. Update your website, listing and appointment tool from that schedule. If a shop has different hours for pickup and walk-ins, list both and state which one applies to each customer.
Start with a schedule staff can share
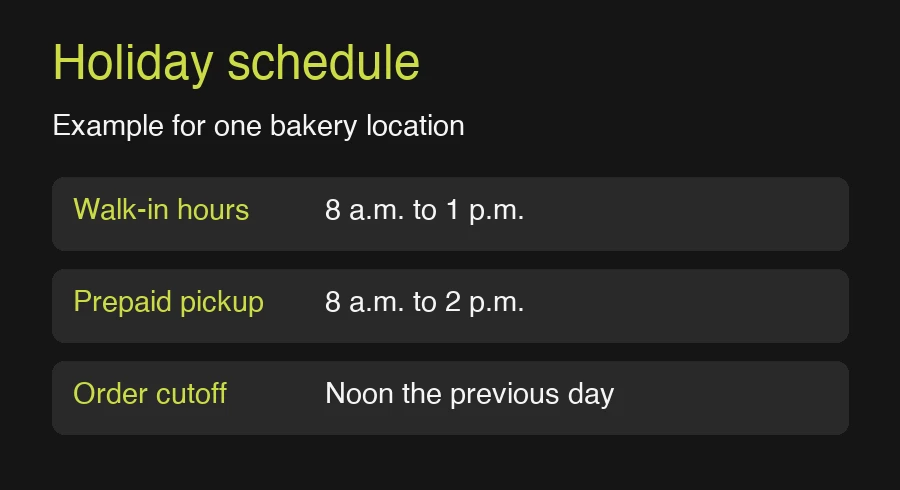
Imagine a Phoenix bakery that closes its storefront early but keeps prepaid pickup open another hour. “Holiday hours: 8 a.m. to 1 p.m.” leaves a customer with a practical question. Can they pick up a paid order after 1 p.m.? Write down the date, walk-in hours, pickup window, and last order cutoff separately. If you have more than one location, record who approves the hours at each one.
Update the listings customers actually use
Open your Business Profile and find the Hours section. Use Google’s Special hours instructions to add or confirm the holiday date and save the temporary hours. Google displays those entries for the designated days. Check the public result in Search or Maps before marking it done. Keep the details customers need for pickups or appointments on the relevant website page.
- Put the date and temporary hours next to the address on your website, in readable page text.
- Check booking and ordering tools for slots that fall outside the temporary schedule.
- Review confirmation emails, pickup instructions, and voicemail for old information.
Check the experience from a phone
Search the business name as a customer would. Follow the directions link, open the site, and see if the hours agree. If someone can place an order or make a booking, try it with a test entry and remove it afterward. Ask someone who did not make the change to do the same check. Give one person responsibility for removing temporary website notices when regular hours resume.